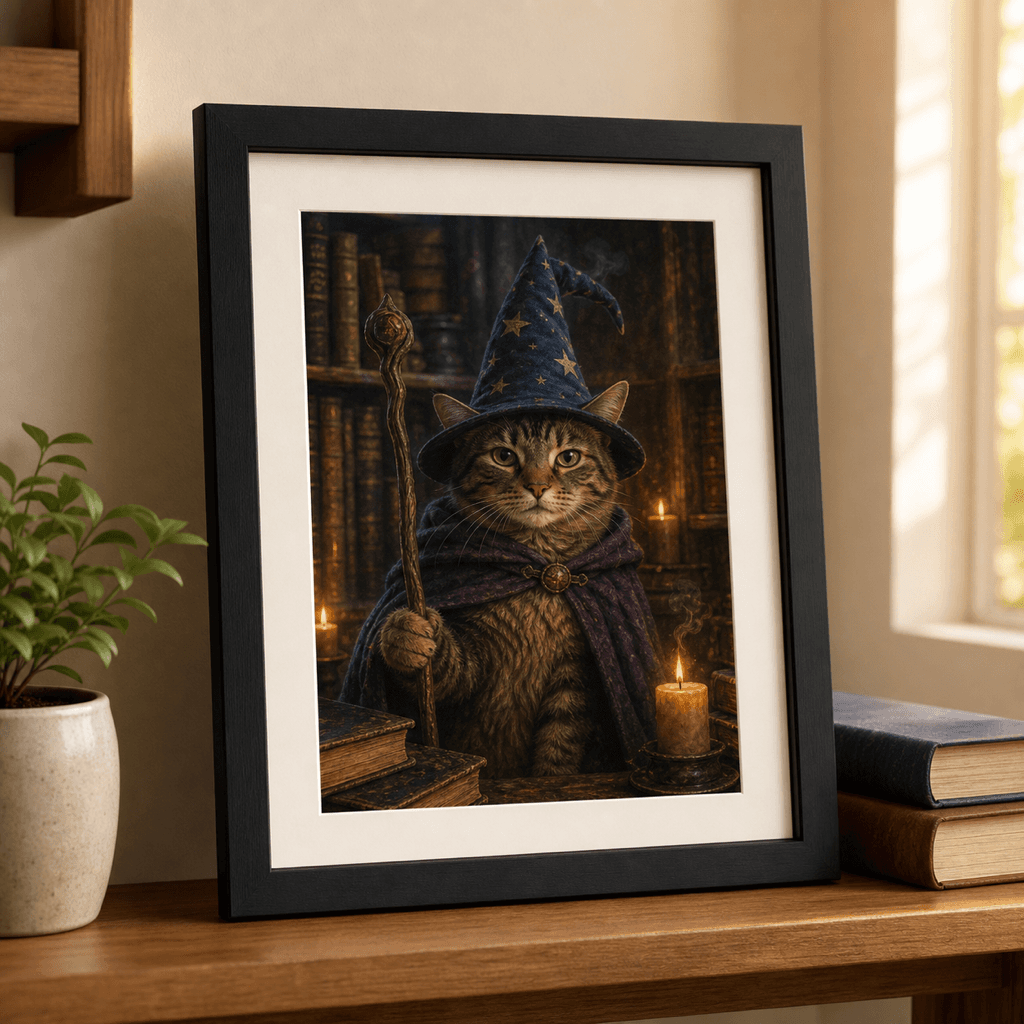
Downloading the portrait is only half of a wall-art project. The next decisions—size, paper, crop, border, and frame—determine whether the finished piece feels deliberate. Fortunately, a square digital portrait is straightforward to print once you understand what the pixel count can honestly support.
Love & Likeness provides a watermark-free 2400×2400 PNG and JPEG. That is a useful small-format file, not a native billboard or oversized-canvas file. This guide stays inside that real limit rather than promising that a resolution label can manufacture detail that is not present.
Pixels, PPI, and DPI in plain language
Pixels are the image information in the file. PPI describes how many of those pixels are assigned to each printed inch. Printer hardware uses dots of ink, which is why services often say DPI, but the customer-facing sizing calculation is pixels divided by inches.
For a 2400px square: 2400 ÷ 8 = 300 PPI, so 8×8 is the sharpest standard recommendation. 2400 ÷ 10 = 240 PPI, which is commonly acceptable for a small wall print when the printer allows it. Enlarging it to 20×20 would leave only 120 pixels per inch and reveal softness at close range.
Printful's current file guidance recommends at least 150 DPI for many products and strongly recommends 300 DPI for paper products. It also notes that actual print dimensions and pixel resolution must be considered together—not as two unrelated numbers. Always use the requirements for the exact product you select.
See your pet in a free preview
Upload one clear photo, pick a character, and judge the likeness yourself before paying anything.
Choose the size before the frame
For a single portrait, start with 8×8. It preserves the square composition at the strongest recommended density. A 10×10 can work when the shop accepts 240 PPI and you prefer more wall presence. For three coordinated panels, three 8×8 prints in matching frames make a compact triptych without stretching the files.
Avoid selecting an 8×10 product and accepting the default crop. A square image cannot fill a rectangle without losing content. The safer alternatives are a square frame, a square opening in a larger rectangular mat, or a print service option that adds borders rather than cropping the artwork.
Paper, canvas, and finish
A smooth matte photo paper keeps painted texture visible without strong reflections. A lightly textured fine-art paper can complement Classic and Royal portraits. Glossy paper increases contrast but also reflects windows and lamps, which can be distracting on a wall.
Canvas hides a little fine detail in its weave and often requires extra image area around the edges for wrapping. Because providers use different bleed and wrap templates, do not upload a tightly composed square and assume the face will stay untouched. Preview every edge, and choose a front-face or bordered option when the provider offers one.
PNG or JPEG—and where to print
Use the JPEG for most photo counters and consumer upload tools; it is broadly compatible and visually appropriate for painted imagery. Use the PNG when the service accepts it or when you want a lossless working copy for layout. Neither format changes the underlying pixel dimensions.
A local photo lab or independent print shop is useful when you want a person to inspect the crop, paper, and color with you. Online photo services are convenient when their preview clearly shows the entire square. Before ordering, confirm the finished dimensions, whether the system will crop, and whether color correction is applied automatically.
A five-minute preflight checklist
Open the paid file—not the watermarked preview—and zoom in to confirm the eyes and edges look right. Select a square product or intentional mat. Inspect all four edges in the printer preview. Verify quantity and orientation. If the order is a gift, place one test order before committing to multiple copies.
The pricing page lists the exact digital deliverable, and the wall-art collection shows how three square panels can hang together. Love & Likeness does not manufacture the frame or print, so the chosen print provider remains the authority on its own production requirements.